The Invisible Work That Makes the Visible Difference
Ask any experienced painter what separates a paint job that lasts three years from one that lasts twelve, and the answer is always the same: preparation. The actual painting — rolling, brushing, cutting in — is the visible part of the job. But the preparation that happens beforehand determines whether that topcoat will adhere properly, look smooth, and protect the substrate for its full expected lifespan.
In Perth’s harsh climate, preparation is even more critical than in milder environments. With UV index readings exceeding 12 in summer, salt spray along coastal suburbs, and temperatures that swing from single digits in winter to 40°C+ in summer, any weakness in the coating system will be exposed quickly and punished severely.
The Preparation Process: Step by Step
Professional painting preparation follows a methodical sequence. Skipping or rushing any step compromises the final result, regardless of how expensive the topcoat is.
1. Assessment and Testing

Before any preparation begins, the surface must be assessed. What’s the existing coating type — water-based or oil-based? Is there lead paint present (likely on homes built before 1970 in suburbs like Fremantle, Subiaco, and Claremont)? Is there mould, efflorescence, or salt contamination? Are there structural cracks that need filling versus movement cracks that need flexible sealant?
This assessment drives every subsequent decision. Painting over an unidentified problem doesn’t make it go away — it just hides it temporarily.
2. Cleaning
All surfaces must be clean before painting. Dust, dirt, mould, cobwebs, salt deposits, and chalking paint residue all prevent proper adhesion. Exteriors should be pressure washed at appropriate pressures — too high damages render and timber; too low doesn’t clean effectively. Interiors should be washed down with sugar soap solution, particularly in kitchens and bathrooms where grease and soap film accumulate on walls.
3. Scraping and Sanding
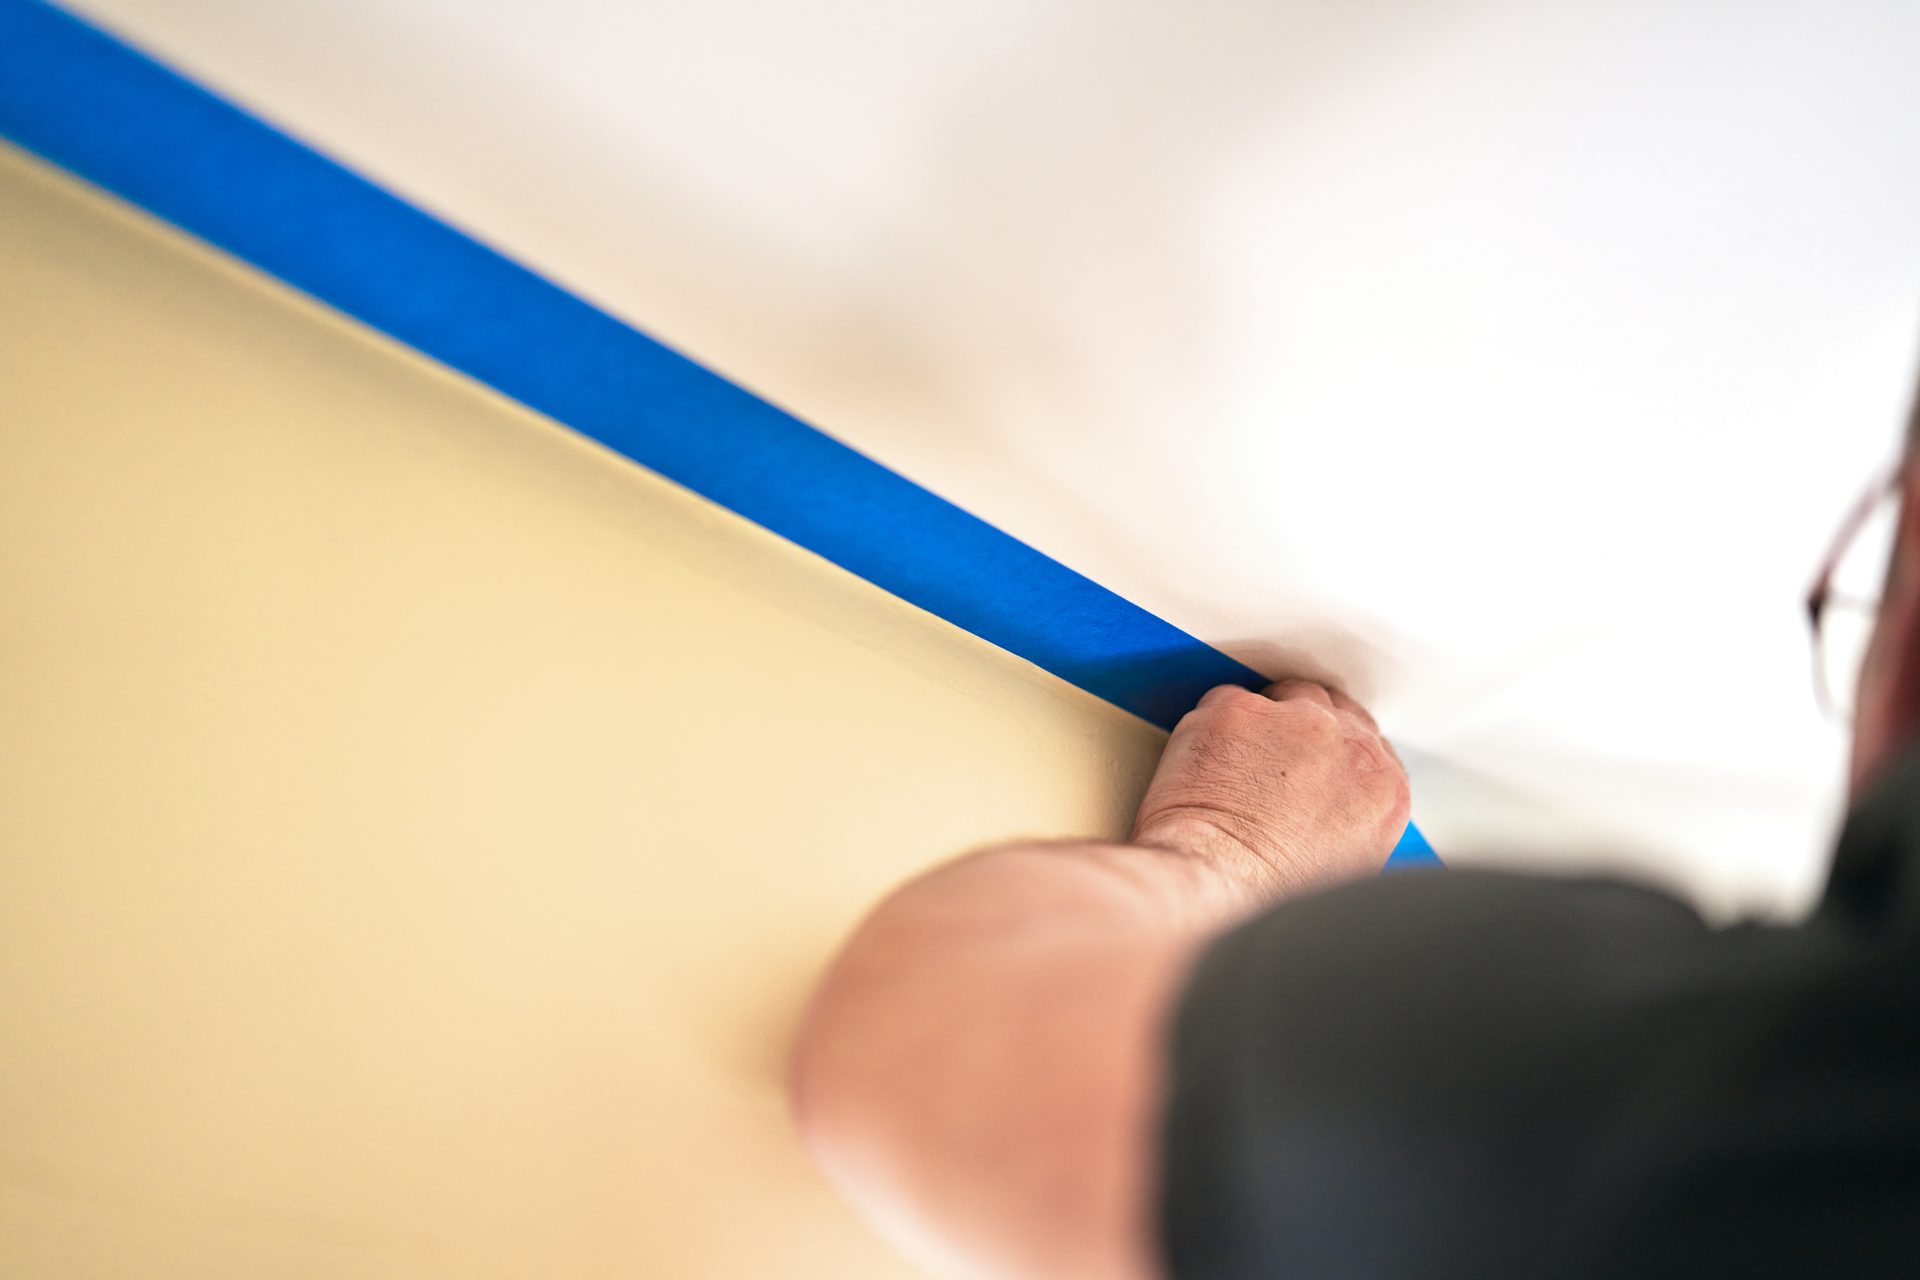
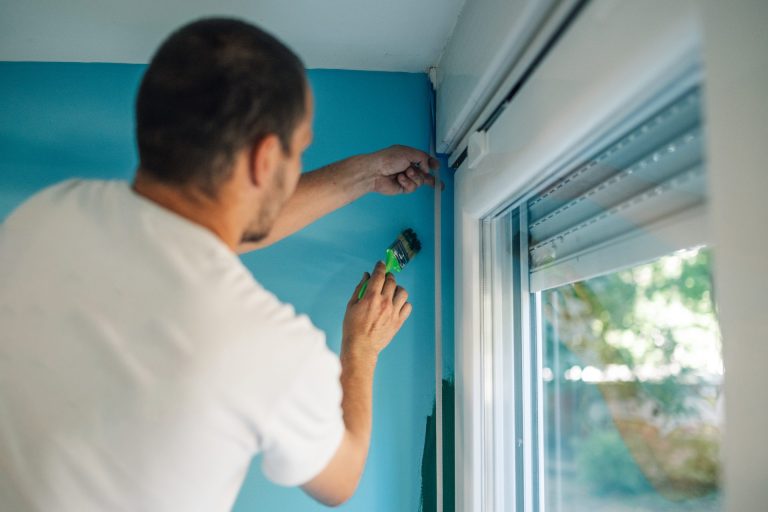
Loose, flaking, or peeling paint must be removed back to a sound edge. On timber surfaces like window frames, fascia, and eaves, this often means scraping back to bare wood in affected areas. Once loose material is removed, the entire surface is sanded to create a mechanical key — fine scratches that give the new coating something to grip.
4. Filling and Repair
Cracks, holes, dents, and imperfections are filled with appropriate fillers. Exterior cracks in render typically require flexible acrylic filler rather than rigid plaster filler, because rendered walls in Perth expand and contract significantly between seasons. Timber repairs may require epoxy filler for rot-affected areas or timber inserts for larger damage.
5. Priming
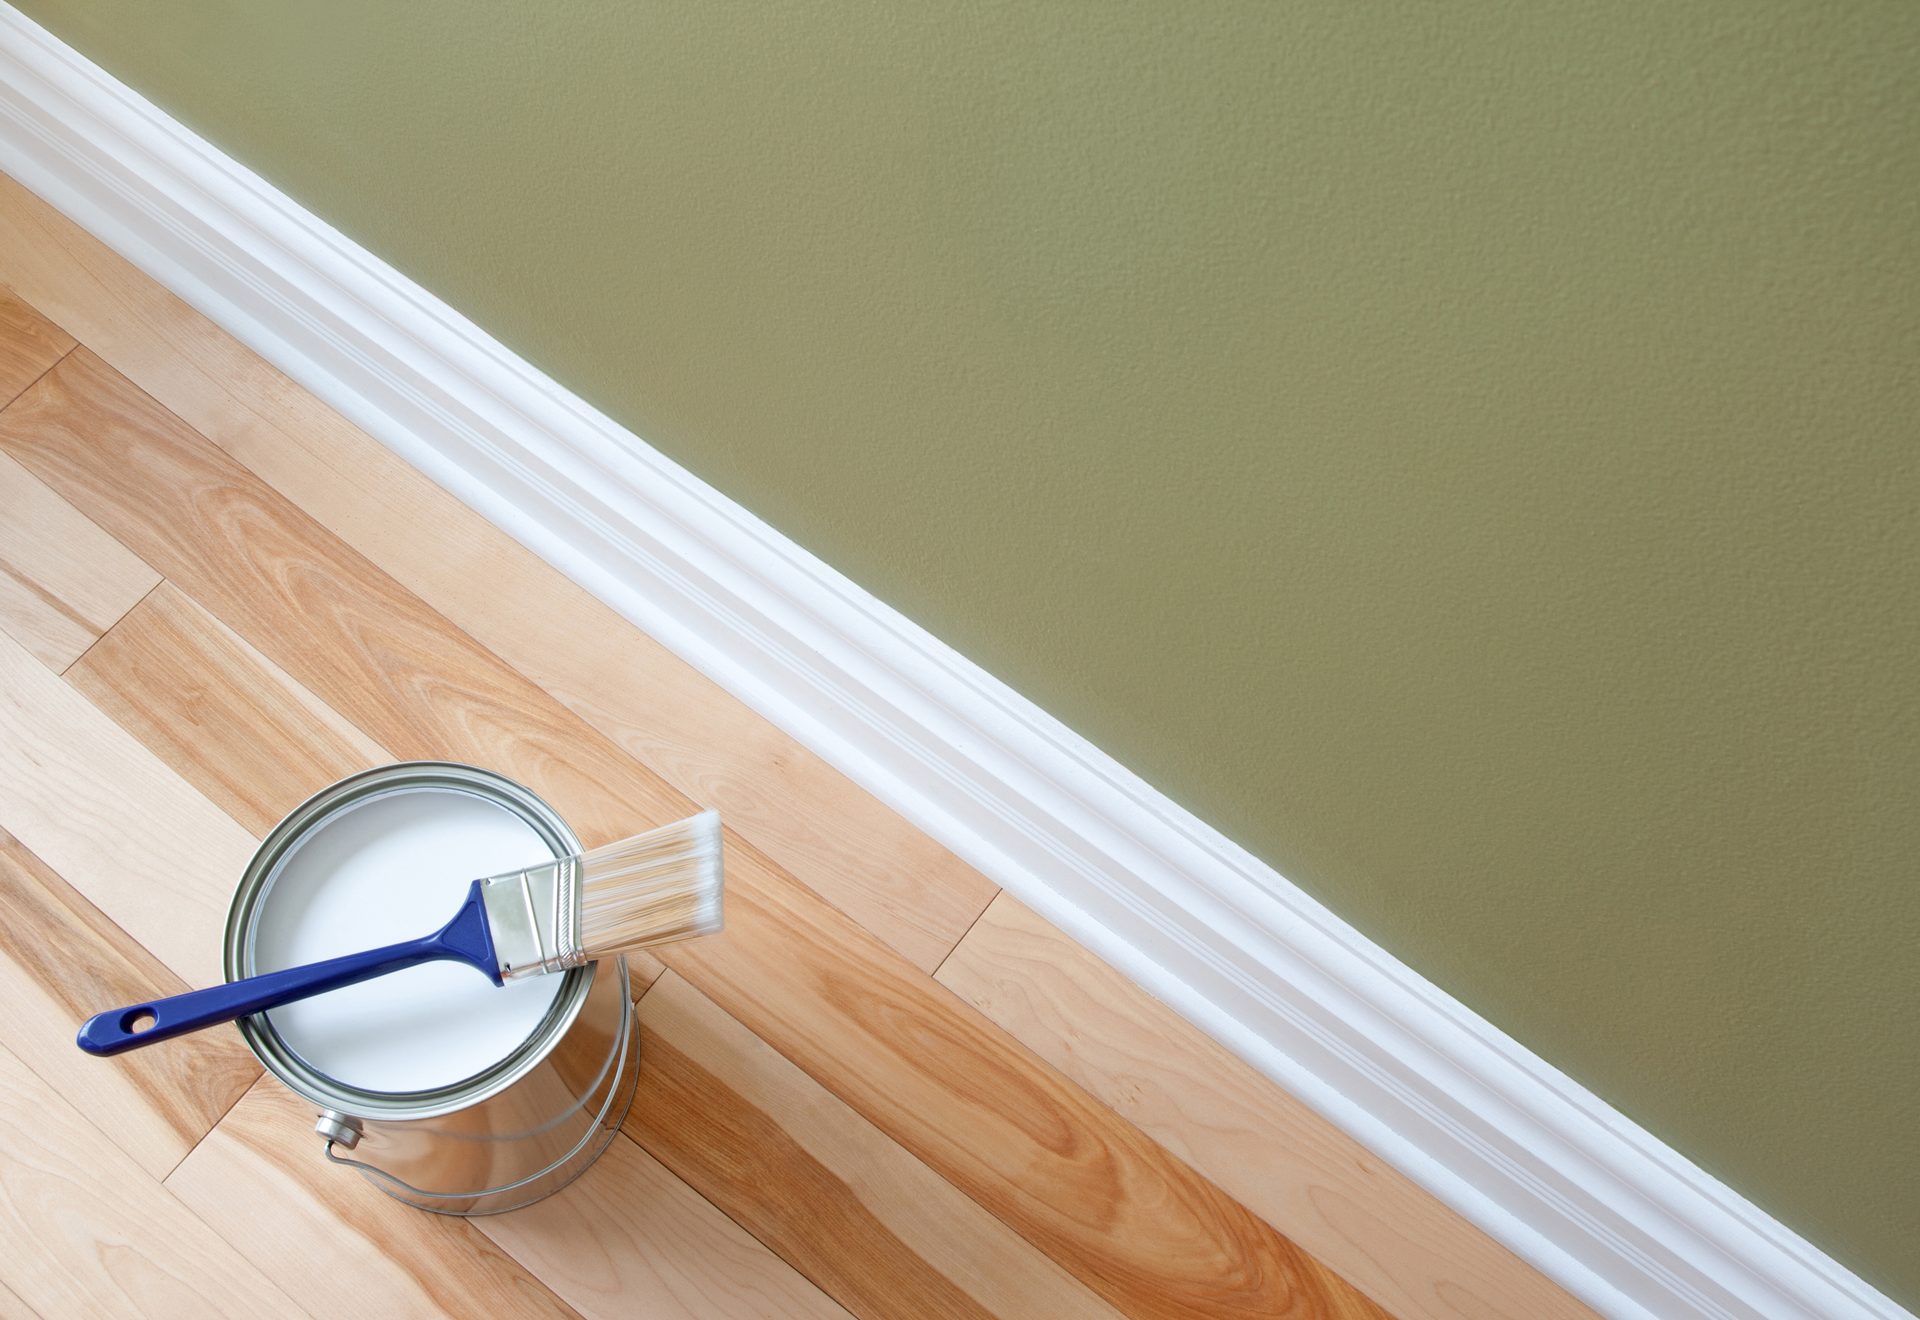
Primer serves three purposes: it seals porous surfaces so topcoat doesn’t soak in unevenly, it provides adhesion between substrate and topcoat, and it blocks stains (tannin from timber, water marks, nicotine) from bleeding through. Bare timber, patched areas, and any surface where the existing coating has been removed to substrate must be primed.
Preparation Checklist by Surface Type
| Surface | Clean | Scrape/Sand | Fill | Prime | Perth-Specific Notes |
|---|---|---|---|---|---|
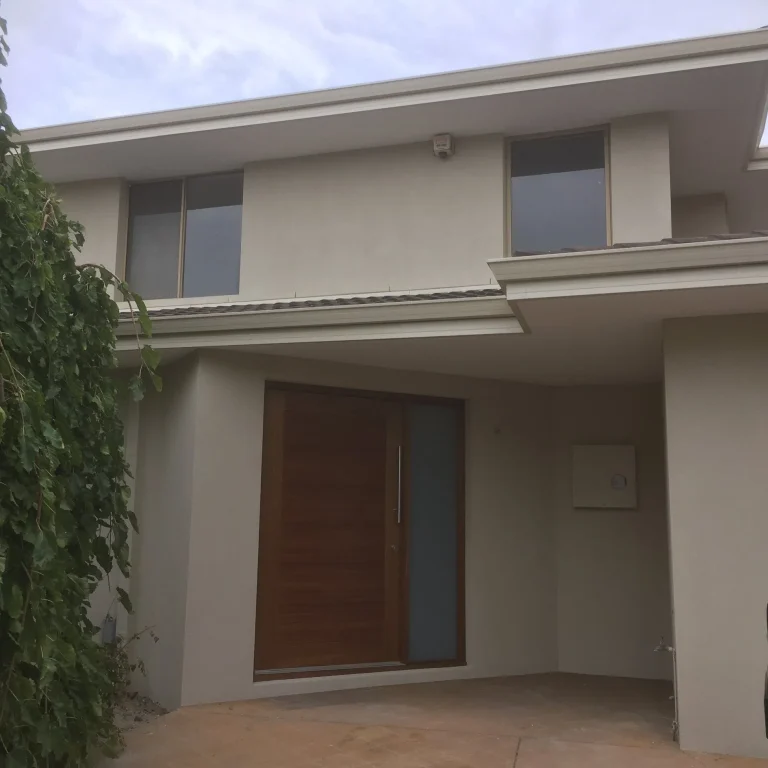
| Rendered exterior walls | Pressure wash | Sand chalking areas | Flexible filler for cracks | Sealer/primer on bare render | Check for salt efflorescence on coastal properties |
| Timber fascia and eaves | Wash and dry | Scrape loose paint to bare wood | Epoxy filler for rot; acrylic for small holes | Timber primer on all bare wood | Check for termite damage in older suburbs |
| Interior plasterboard | Sugar soap wash | Light sand | Plaster filler for nail pops and dents | Spot prime patches | Ceilings in Morley and Balcatta-era homes often have textured coatings |
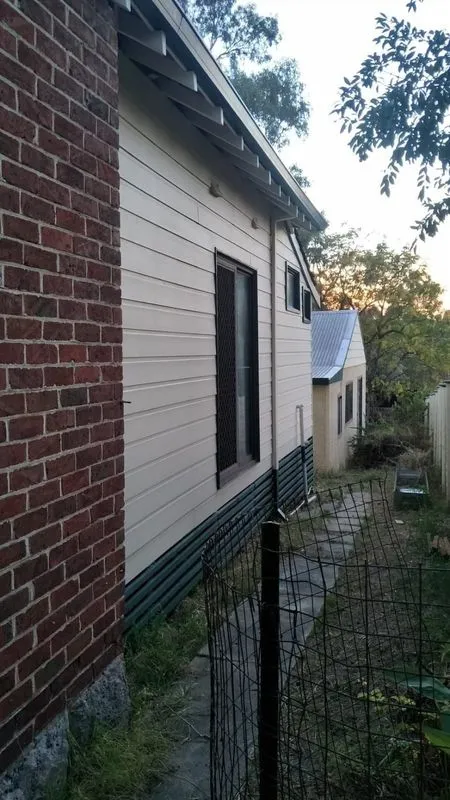
| Weatherboard cladding | Pressure wash (low pressure) | Scrape all loose paint | Fill gaps between boards with flexible sealant | Full prime if bare wood exceeds 30% | Pre-1970 homes — test for lead paint before sanding |
| Metal surfaces (gates, railings) | Degrease and wash | Wire brush or sand rust | Rust converter on corroded areas | Metal primer (zinc-based for steel) | Salt air corrosion accelerates rust in coastal zones |
What Happens When Preparation Is Skipped
The consequences of poor preparation are predictable and expensive. Paint applied over chalking surfaces peels within 12 months. Topcoat applied without primer over bare timber soaks in unevenly, leaving a blotchy, uneven finish. Cracks that are painted over but not filled reopen with the first temperature cycle and telegraph through the new coating.
We regularly see homes across Perth where a previous paint job has failed within two to three years because corners were cut during preparation. The homeowner then pays for a second full repaint — effectively doubling their cost. It’s always cheaper to do proper preparation once than to pay for two quick paint jobs.
How Perth Property Improver Handles Preparation
At Perth Property Improver, preparation is the foundation of every painting project we undertake. James Officer inspects every surface during the renovation quotes process, identifies existing coating types, checks for lead paint on pre-1970 homes, and specifies the exact preparation steps required for each surface. The preparation scope is documented in your quote so you know exactly what’s included.
We don’t cut corners on preparation because we know — from thousands of square metres painted across Perth — that thorough prep is what makes the difference between a coating that lasts 5 years and one that lasts 12. Whether it’s a single room interior repaint or a full exterior painting renovation, the preparation standard is the same: do it right the first time.

Related Services
Got a project on your mind?
Tell us what you’re working on. Free site visit, indicative budget, no obligation.
Get a Fast QuoteRelated Posts