

How Long Does a Bathroom Renovation Take in Perth?
A standard bathroom renovation in Perth takes 2–4 weeks from demolition to final fixtures—here's the stage-by-stage breakdown and what actually…
May 26, 2026

In a time where trades provide substandard work and are very unreliable, James is a breath of fresh air.

Verified Google Review
He organised, managed and negotiated with the tradesfolk on my behalf. I ended up paying at least 30-40% less...

Verified Google Review
Every single time they have provided a very reasonable quote, been super responsive and delivered excellent service and results.

Verified Google Review
Complete the form below and we'll provide a waterproofing quote with AS 3740 compliance certificate included.

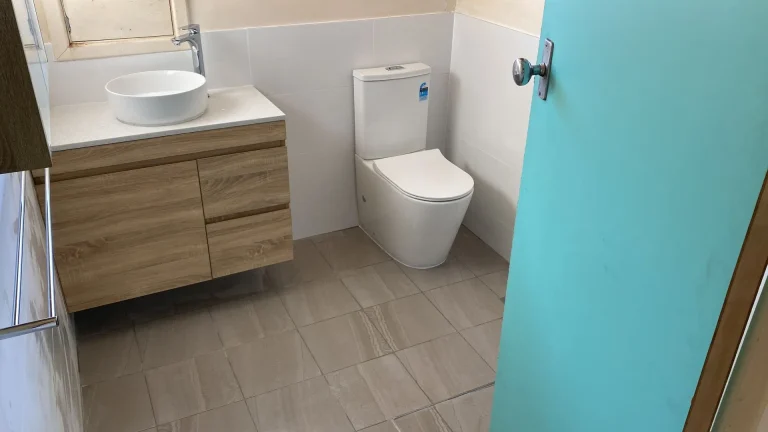
Bathroom vanity replacement without the hassle.
Bathroom Vanity Replacement →
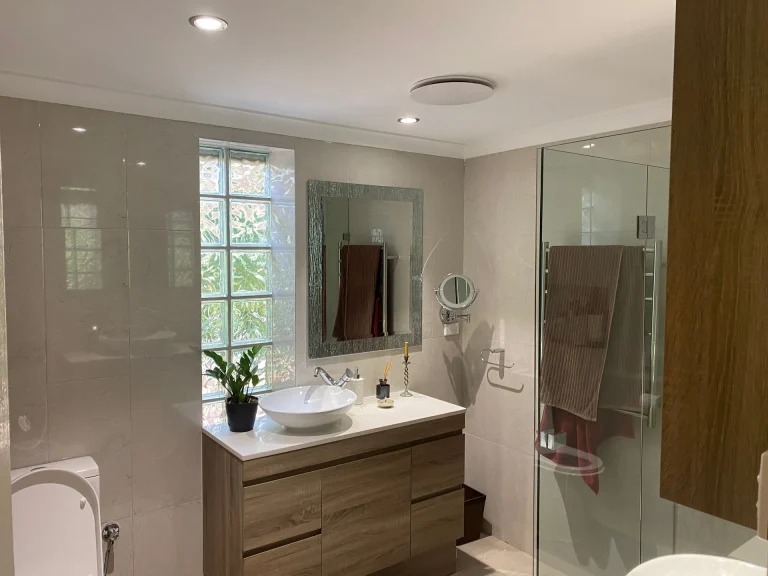


Simple, stress-free renovations for small bathrooms.
Small Bathroom Renovations →
Compliant waterproofing prevents the water damage and mould growth that ruins untreated wet areas


Certified membrane application protects substrate, extends tile life, and maintains structural integrity

Bathroom waterproofing isn’t a single product — it’s a multi-layer system applied to every surface water can reach. In a compliant Perth bathroom renovation, waterproofing covers shower bases, floor-to-wall junctions, around floor wastes, behind bath hobs, and up walls to the required height (1800mm minimum in shower zones under AS 3740).
The membrane itself — typically a liquid polyurethane or sheet system — bonds to the substrate before tiling. It forms a continuous barrier that channels water to the drain rather than into timber frames, subfloors, or ceiling cavities below. Penetrations (mixer taps, spouts, waste outlets) are sealed with compression flanges or grommets to maintain membrane integrity.
What catches most DIY jobs and non-licensed contractors: the detail work. Internal corners get fabric reinforcing tape folded into wet membrane. External corners (like a shower step or hob) get pre-formed corner pieces. Floor wastes require two-part kits with collar and clamp ring. Miss any of these, and water finds the gap — sometimes years later when the leak surfaces as ceiling damage or rotted framing.
A code-compliant scope includes surface prep (grinding back tile adhesive residue, patching substrate voids), priming porous surfaces, two-coat membrane application with 24-hour cure between coats, and a flood test before tiling proceeds. The final output: a stamped compliance certificate from a licensed waterproofer, which your certifier checks before sign-off.
Application: Brushed or rolled onto substrate in two coats. Bonds to concrete, compressed fibre cement, plasterboard.
Pros: Fully flexible (bridges hairline substrate movement), seamless coverage around complex shapes, easiest for repairs or patch jobs.
Cons: Relies on installer skill for consistent thickness, sensitive to ambient temperature during cure (ideally 15-30°C), can’t tile same day (24hr cure per coat).
Cost: $45-$65/sqm applied, mid-range. Most common choice for residential bathrooms.
Application: Pre-manufactured sheets bonded with adhesive, seams heat-welded or taped with compatible sealant.
Pros: Consistent factory thickness (no human error), immediate tile-ready once bonded, excellent for large commercial wet areas.
Cons: Harder to detail around penetrations and corners (requires cutting/patching), adhesive bond relies on perfect substrate prep, seams are potential weak points if not welded correctly.
Cost: $55-$85/sqm, higher material cost but faster install on straightforward layouts.
Application: Powder mixed with water or acrylic additive, trowelled on like a render.
Pros: Rigid bond to masonry/concrete, very durable in high-traffic commercial showers, can be applied to damp substrates.
Cons: No flexibility — substrate movement causes cracks (fine in solid concrete slab bathrooms, risky on timber-framed upper floors). Limited use in WA residential where suspended timber floors dominate pre-1990s homes.
Cost: $40-$55/sqm, cheapest but only suitable where substrate won’t move.
Liquid polyurethane wins 80% of residential jobs: timber-framed bathrooms need flexible membranes, and Perth’s varied home stock (1960s weatherboard to 2020s double-brick) makes polyurethane the safest spec. Sheet membrane suits new concrete-slab builds or commercial fitouts where speed matters. Cementitious is rare in residential — we only use it on ground-floor solid slab bathrooms in newer estates.
Timber-framed homes (pre-1990s stock): Most older Perth homes have suspended timber floors in bathrooms — joists + bearers + particle board or ply substrate. These flex. Cementitious membrane will crack within 18 months; only flexible polyurethane or quality sheet membrane survives long-term. If you’re renovating a 1970s Floreat bathroom with original timber framing, specify polyurethane — non-negotiable.
Limestone block construction (1950s-1970s): Common in older suburbs (Mount Lawley, Subiaco, Nedlands). Limestone is porous and holds moisture. Waterproofing needs to go over a moisture-tolerant primer (acrylic or epoxy), and the substrate must be fully dried before membrane application. Rushing this creates blistering and delamination within months.
Ground-floor slab bathrooms in newer estates: Baldivis, Ellenbrook, Byford — these are almost all concrete slab on grade. Less substrate movement risk, so cementitious or sheet membranes are viable. But: Perth’s reactive clay soils cause slab heave in some pockets. If the slab has visible cracking (even hairline), go flexible membrane.
Hob height requirements: AS 3740 mandates 100mm min step-down from bathroom floor to shower base OR a full-height (floor-to-ceiling) waterproofed and tiled enclosure. Most Perth renovators use the step-down hob because it’s cheaper and easier to build. But: councils in some heritage areas (like parts of Fremantle) have pushed back on raised hobs for accessibility. Check with your certifier early if you’re doing a heritage overlay property.
Floor waste positioning: Perth Water mandates certain trap types and minimum grate sizes depending on the drainage zone. If you’re renovating in an older area with combined sewer (like some of inner South Perth), your floor waste might need a S-trap or P-trap with specific vent arrangements. This affects waterproofing detail — the membrane collar must match the waste type.
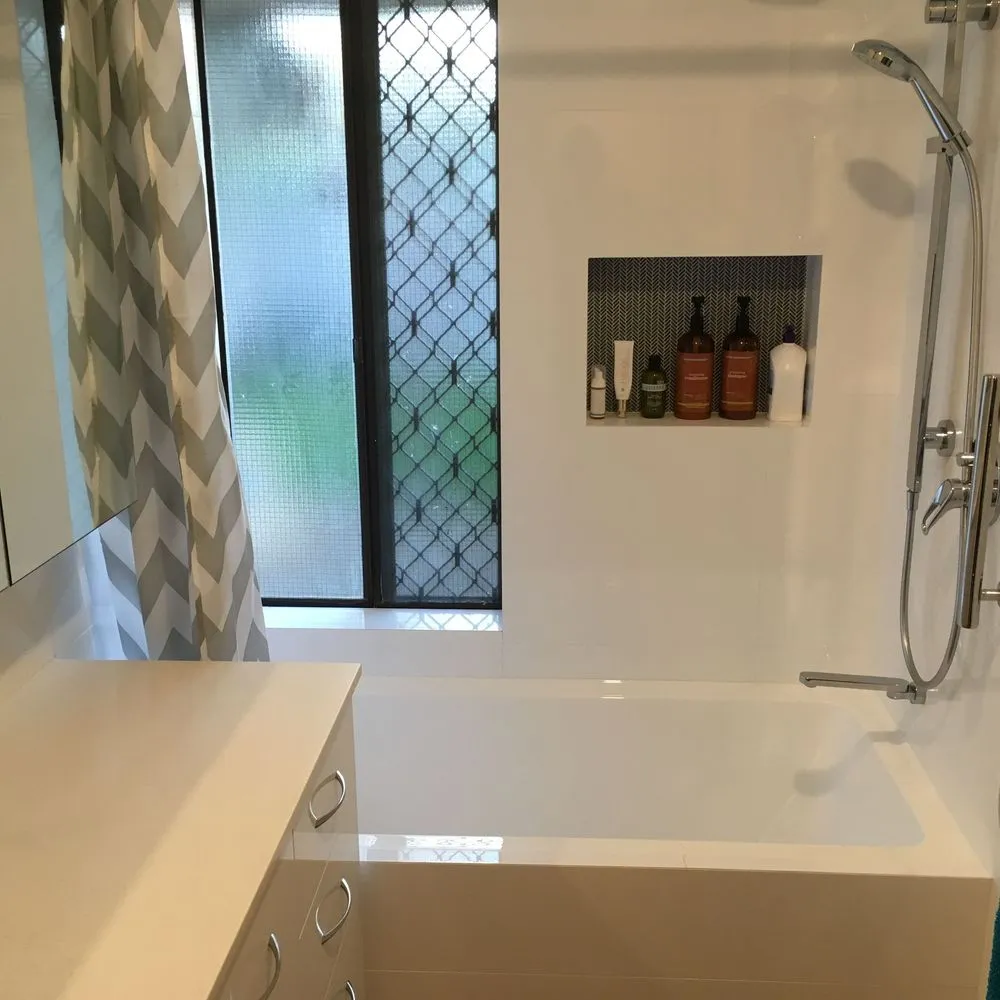
You can hire a standalone waterproofing contractor — they’ll membrane your bathroom, hand you a certificate, and leave. That works if you’re managing your own bathroom renovation and coordinating every trade yourself. The waterproofer doesn’t talk to the tiler, doesn’t check substrate prep before arriving, doesn’t return if the tiler finds an issue mid-install.
When we project-manage your bathroom renovation, waterproofing is one sequenced trade in a locked workflow. The plumber roughs in waste and mixer penetrations, we verify substrate is prepped correctly (no voids, no loose material, correct falls to waste), the waterproofer applies membrane with all penetrations sealed, we flood-test before the tiler starts, and the tiler knows the membrane’s already certified so there’s no finger-pointing if something goes wrong later.
The value: a single point of contact. If the substrate needs patching or the floor falls aren’t right for proper drainage, we catch it before membrane goes on — not after, when fixing it means ripping out fresh waterproofing. If the tiler damages membrane while setting tiles (it happens — a dropped tile can puncture polyurethane), we bring the waterproofer back for a warranty patch without you chasing two separate contractors who each blame the other.
The certificate risk: a licensed waterproofer only certifies the membrane itself. If the tiler tiles over it incorrectly (wrong adhesive type, insufficient coverage, movement joints omitted) and water later penetrates via grout cracks, the waterproofer’s cert doesn’t cover it — you’re chasing the tiler. When one party project-manages both trades, that ambiguity disappears. We’re accountable for the whole wet area, membrane to finished tile.
Timeline: 4-5 days from substrate prep to tiling handover, assuming no weather delays (membrane won’t cure properly in sub-10°C temps or above 35°C). Most Perth bathroom renovations schedule waterproofing in autumn or spring to avoid summer heat and winter cold snaps.
Waterproofing pricing depends on wet area size, substrate complexity, and membrane type. Below are indicative rates for Perth Metro in 2026. Quotes vary by 15-25% based on site access, building age, and whether structural repairs are needed first.
Scope: Shower base + walls to 1800mm, single floor waste, standard penetrations (mixer, spout).
Liquid polyurethane membrane: $850-$1,200 supply & install, includes flood test and certificate.
Sheet membrane: $950-$1,400 for same scope (higher material cost).
Scope: Entire floor area (typically 4-6sqm), shower walls to 1800mm, bath hob and surround to 150mm above bath rim, two floor wastes (shower + main floor).
Liquid polyurethane: $1,800-$2,800 supply & install.
Sheet membrane: $2,200-$3,200.
Scope: 2-3sqm floor, shower recess to 1800mm, single waste.
Liquid polyurethane: $1,100-$1,600.
All quotes include surface prep, priming (if required), two-coat membrane application, fabric reinforcing at junctions, penetration sealing, flood test, and Form 35A compliance certificate. Tiling and tile adhesive are separate scopes (typically $80-$150/sqm on top of waterproofing).
Substrate replacement (e.g., ripping out rotted villaboard and replacing with compressed cement sheet), structural timber repairs if framing is compromised, or rectifying falls if floor doesn’t slope correctly to waste — these are carpentry/building scopes quoted separately.
Every membrane is applied by a WA Building Services-licensed waterproofer. You get a stamped Form 35A compliance certificate that your certifier accepts without question.
We don’t shortcut hob heights, corner details, or penetration sealing. Every wet area meets the Building Code of Australia — your insurance and resale value depend on it.
We schedule plumber, waterproofer, and tiler as one integrated sequence. No gaps where trades blame each other if something goes wrong.
Waterproofing takes 4-5 days from substrate prep to tiling handover. We won’t promise same-day service or shortcut cure times — membrane chemistry doesn’t bend for tight schedules.

If you’re renovating a bathroom — even just retiling a shower — waterproofing isn’t optional. WA building regulations (via the National Construction Code) mandate it for all wet areas. No certifier will sign off a bathroom reno without a waterproofing certificate. No reputable tiler will tile over an un-waterproofed substrate because they know they’ll be liable when the leak surfaces.
But beyond compliance, waterproofing is how you protect your investment. A bathroom renovation in Perth costs $15k-$35k on average. If water seeps through tiles, it doesn’t just stain the ceiling below — it rots joists, delaminates plasterboard, grows mould inside wall cavities, and ruins the tiled finish within 5-7 years. Fixing that costs more than the original reno. Waterproofing upfront for $1,200-$2,800 is the cheapest insurance you can buy.
That said: if you’re doing surface-only cosmetic updates (painting walls, replacing a vanity, swapping tapware) and NOT disturbing tiles or substrate, you don’t need to re-waterproof. The existing membrane — if it was installed correctly — remains valid. We’d still recommend a visual inspection to check for cracks or delamination, but you’re not legally required to membrane over old membrane unless you’re exposing substrate.
When waterproofing is non-negotiable: any shower replacement, any floor tile replacement, any new penetration (adding a second shower head, installing a niche, relocating a floor waste). If substrate is exposed, it must be waterproofed before tiling resumes.
Only a WA Building Services-licensed waterproofing installer can issue a Form 35A compliance certificate, which your certifier requires. Some tilers hold dual licenses (tiling + waterproofing), but most don’t. If your tiler isn’t licensed for waterproofing, they legally cannot certify the membrane — and you won’t pass inspection. Always ask to see the license number before work starts.
Indicative rates: $850-$1,200 for a standard shower recess, $1,800-$2,800 for a full bathroom (floor + shower + bath surround), $1,100-$1,600 for an ensuite. Costs vary by substrate condition, membrane type (liquid polyurethane vs sheet), and complexity (number of penetrations, non-standard geometry). Substrate repairs or difficult access add $300-$800. All rates include flood test and compliance certificate.
If the existing membrane is intact (no cracks, delamination, or punctures), AND you’re not disturbing the substrate beneath it, you can tile over it. But: if you’re removing old tiles or cutting into substrate (e.g., relocating a floor waste, adding a niche), the old membrane is compromised and must be stripped back to bare substrate, then re-waterproofed. A visual inspection by a licensed waterproofer will confirm whether the old membrane is salvageable.
4-5 days from substrate prep to tiling handover. Day 1: surface prep and priming. Day 2: first membrane coat (24hr cure). Day 3: second coat (24hr cure). Day 4: flood test (24hr soak). Day 5: tiling can start. Rushing cure times voids the membrane warranty and risks delamination. Waterproofing in extreme heat (above 35°C) or cold (below 10°C) extends cure time by 12-24 hours.
The waterproofer locates the leak (usually at a penetration or corner junction), patches the membrane, and re-tests. Patch cure time is 24 hours, so a failed test adds 1-2 days to the schedule. Most fails happen when substrate prep was inadequate (voids under membrane) or penetrations weren’t sealed correctly. A licensed waterproofer warranties their work, so patches and re-tests are at no extra cost.
No. Waterproofing is only required when you disturb the substrate or tiles. Surface-level cosmetic work (vanity swap, painting walls, replacing tapware without moving penetrations) doesn’t expose substrate, so the existing membrane — if it was installed correctly — remains compliant. But if you’re doing a full reno (new tiles, new shower base, or any substrate work), waterproofing is mandatory.
AS 3740:2021 is the current Australian standard (the NZ joint standard was split). Key changes from earlier versions: hob height is now 100mm minimum (was previously 75mm in some interpretations), and penetration sealing requirements are more explicit. Any bathroom renovated under a 2022+ building permit must comply with AS 3740:2021. Older bathrooms built under previous codes aren’t required to upgrade unless you’re doing a full reno.
Liquid polyurethane membranes cure best between 15-30°C. Perth winter lows (June-August) can drop to 8-12°C overnight, which slows cure and risks incomplete cross-linking. Most waterproofers avoid mid-winter jobs or use heated spaces to maintain 15°C+ during cure. Spring and autumn are ideal. Summer (Dec-Feb) is fine as long as ambient temp stays under 35°C — above that, membrane can blister or cure too fast for proper adhesion.
Trusted Brands We Work With


